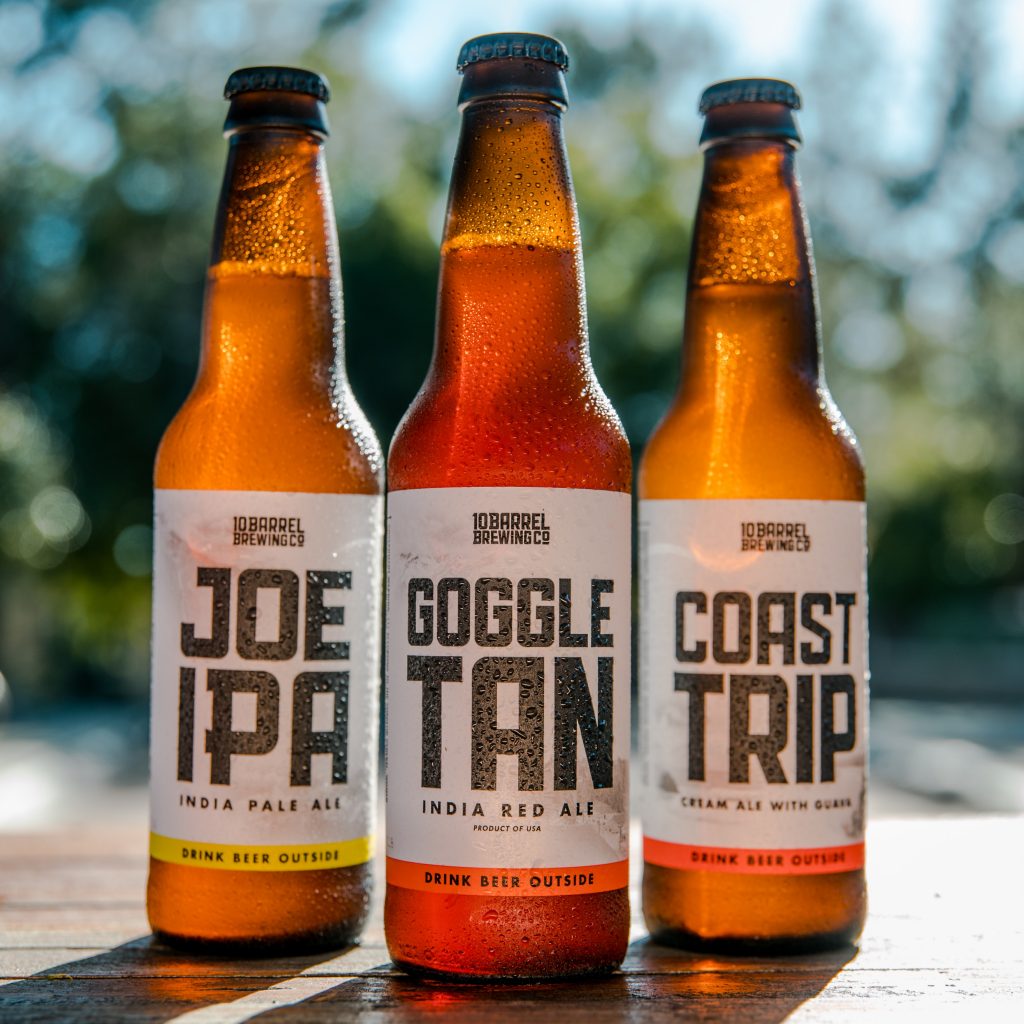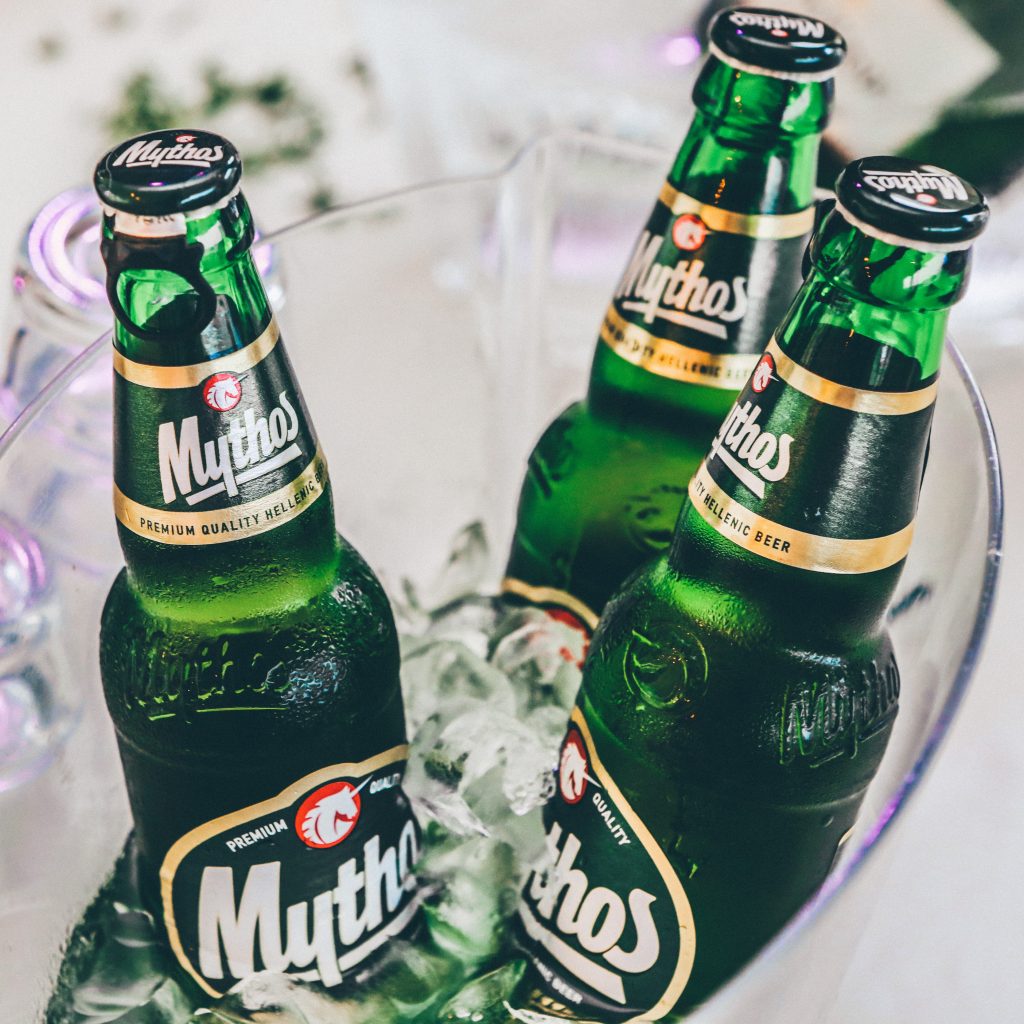
When doing a shoot for drinks photography you may want that refreshing chilled look that you get from an ice cold drink.
One way to do this is to chill the drink to make it cold and take it out when you are ready to shoot, but there is a much better solution.
You can do this artificially so that you have a consistent look during your shoot which doesn’t fade.
This gives you enough time to adjust things such as positioning and lighting without being afraid that your chilled effect is on a time limit.
This tutorial will teach you how to get a chilled effect by using fake condensation for beverages.
Table of Contents
Safety Tips before you start-
- Do not consume the beverages if you are using any of the techniques in this article. We don’t recommend consuming the drinks because the sprays that you use can be toxic to you if you ingest them.
- Make sure you do the following steps in a well ventilated area. It is best if you do it outside. This is especially important for the dulling spray/matte spray. ALWAYS check the labels on any products you use for any specific instructions.
1. Prepare The Subject
Before you start creating any of the fake condensation you need to make sure your glass or bottle is ready.
You don’t want to start adding fake condensation to a glass with smudges and specs on it because you’ll just end up with a mess.
Wash the glass down with warm water and soap if needed and let it dry.
If there are still marks left after it is dry then give it a quick wipe down with a microfiber cloth.
2. Give Your Glass A Frosted Look With A Matte Spray
For this step you want to get yourself some dulling spray or matte finishing spray.
Get to a well ventilated area and start spraying the bottle or glass to coat it in the spray, but do it from a reasonable distance.
You don’t want to be too close otherwise it will be too concentrated in one area and you want an even coating.
By doing this you should gradually start to see the glass start to look more frosted.
It will give you a frosted look rather than large droplets of condensation and it also handles reflections really well.
The highlights will be nicely diffused and reflections will be toned down too.
The base you create with this step will also help the large droplets of condensation stick more.
If you want you can stop here and just go with the frosted look but if you want those beady condensation droplets you will want to read on to the next step.
*Cheap Trick!*
You can try to use a cheap deodorant spray that you have lying around the house. It can produce a similar effect to the dulling spray and is a fraction of the cost!
This doesn’t always work but try it and see if your deodorant does the trick. Cheaper deodorants which leave residue will work better than a more expensive one.
3. Add Fake Condensation Droplets Using Glycerin And Water
Once you have your frosted effect you can add fake condensation droplets for more of a chilled wet look using a mixture of glycerin and water.
Take 50% glycerin and 50% water and make a mixture then fill up a small spray bottle that you can use for a fine mist.
Spray the bottle or glass with this glycerin and water mixture, varying the distance from the bottle to change how the droplets come out.
The closer to the glass you spray the bigger the droplets should be as they are more concentrated to one area.
If you find that the nozzle of your spray is getting clogged up then you can try using slightly less glycerin in the mixture or trying a different spray bottle.
Now you know how to get that refreshing look yourself, all you have to do is position your subject on set and get your lighting ready to start shooting.
Best of all, you don’t have to worry that your condensation is going to vanish as you could even leave it overnight and it should look the same.
Use this trick alongside tools like fake ice to accomplish mouthwatering pictures that make you thirsty for a drink.

Pro Tip To Make Your Condensation More Realistic
DON’T spray the glass where the drink won’t be filled up to.
This is because condensation only occurs naturally on a glass where the cold drink is in contact with the glass.
By only spraying the area that the drink will be filled up to, your shot will look more natural and realistic.
This is important because something that looks too artificial can be off putting.
For this, tape off an area at the top of the glass and if it has a thick base then tape that over too.
If it is something like a wine glass you may want to tape over the stem of the wine glass.
Be careful to try and make sure you tape along a straight line for the best effect.
I hope you found this useful!
For other useful ways to improve your beverage photography, check out the following posts:
